
Preparing for Japan:
Packing, Currency, Cell Service, Apps, Transportation, and Language Tips.


Pack Only What You Can Carry:
If you plan to use public transportation during your trip, I highly recommend traveling light and bringing only a small- to medium-sized suitcase. Japan’s train and subway systems are very advanced, but I found that elevators and escalators can be hard to find in certain stations. To be prepared, a lighter suitcase—along with a backpack—will make it much easier to carry your belongings up and down stairs without causing delays in busy stations. Your back will thank you, too!
I was able to travel lighter by bringing only what I needed and planning my outfits for each day in advance. Yes, I literally tried on all of my outfits and decided what I would wear each day based on the events we had planned. While it’s tempting to throw everything into your suitcase and figure it out as you go, planning ahead helped me avoid overpacking. I also found this approach to be stress-free while I was in Japan, since I wasn’t rummaging through my suitcase each morning trying to decide what to wear.
In addition to planning outfits, check ahead to see whether the hotels you’ll be staying at offer laundry services. This can significantly reduce the amount of clothing you need to bring, especially if you know you’ll be doing laundry at certain stops.
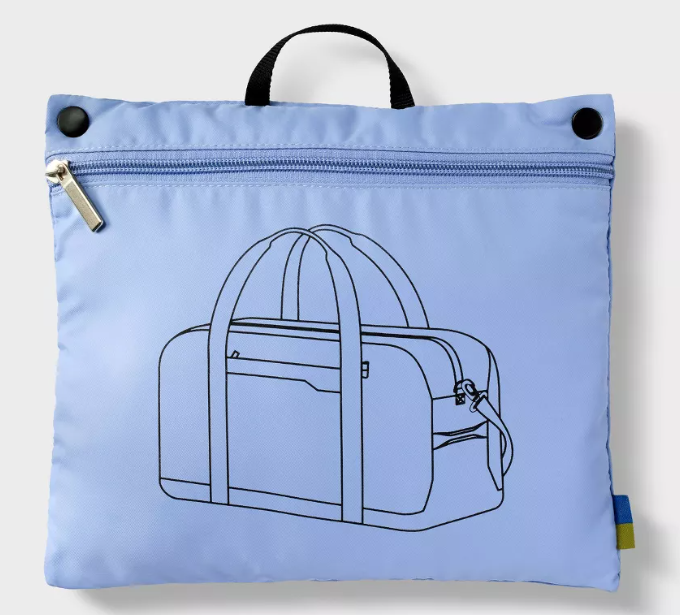

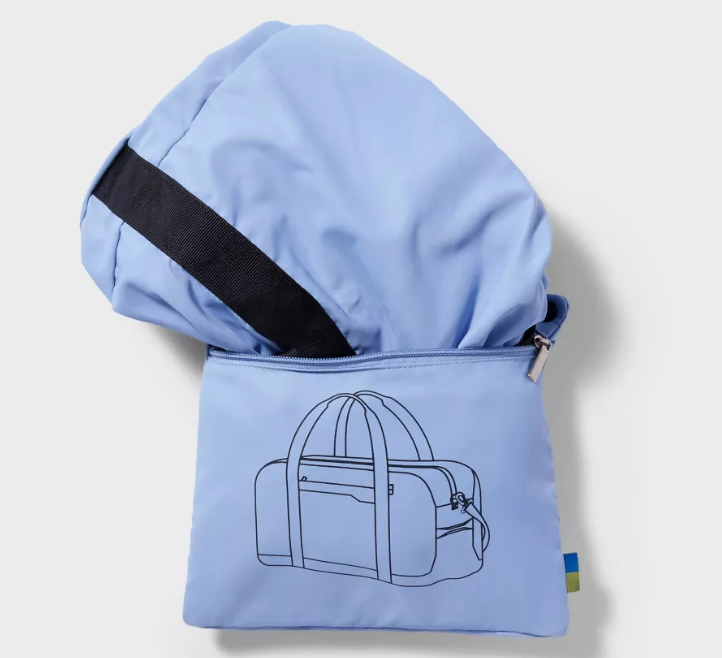

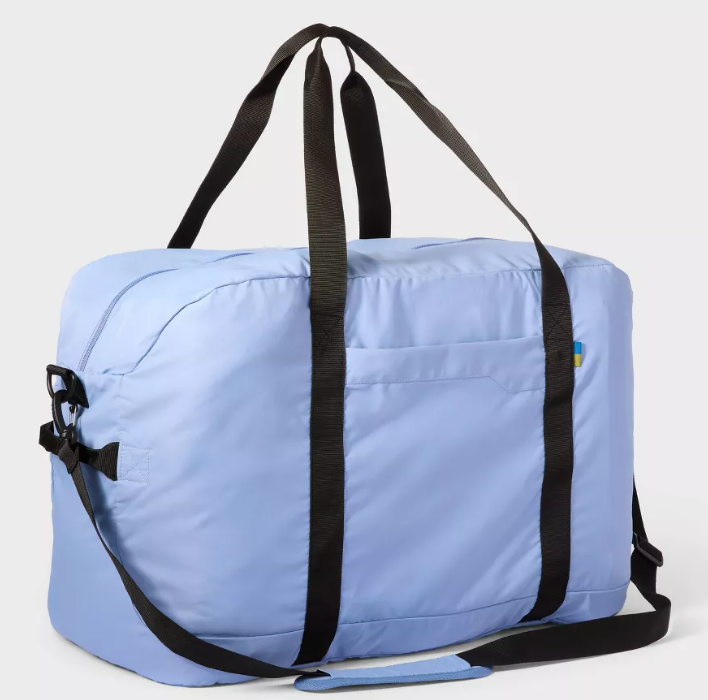

Japan offers countless opportunities to buy souvenirs, so if you don’t have extra space in your suitcase, I suggest bringing a collapsible duffel bag. These bags fold into a compact pouch, making them easy to pack and store until you’re ready to head home. I purchased quite a lot during my trip, and having this bag made it much easier to bring everything back. I got my packable duffle bag from Target.
Many restaurants and temples require you to remove your shoes before entering, so it’s best to bring a comfortable pair that’s easy to slip on and off. I invested in a pair of Kizik sneakers and was so glad I did. They handled all the walking during the trip and were effortless to take off when needed. I still wear them today as my everyday sneakers, and they’re especially convenient at airports when security requires you to remove your shoes. They come in several colors, and the white pair goes perfectly with any outfit.
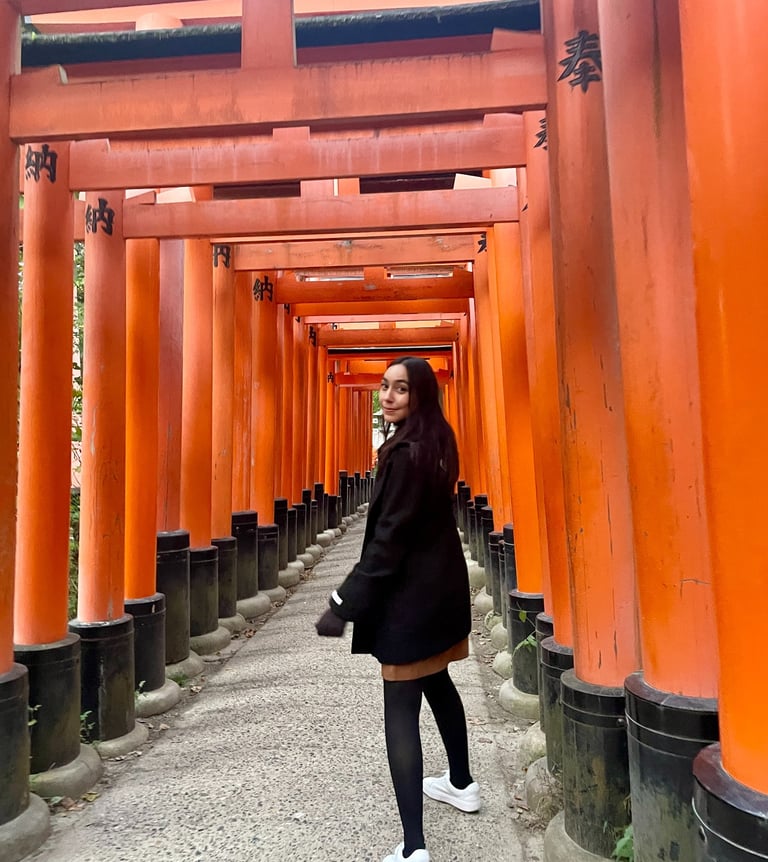
If you’re traveling during the fall or winter, a heavier wool jacket and gloves can help keep you warm. That said, it’s important to check the weather in advance, as temperatures can vary significantly from city to city. In November, I found Tokyo to be much warmer than Kyoto. I was able to get by in Tokyo without ever needing my heavy coat, but I definitely relied on my coat and gloves while walking around Kyoto.
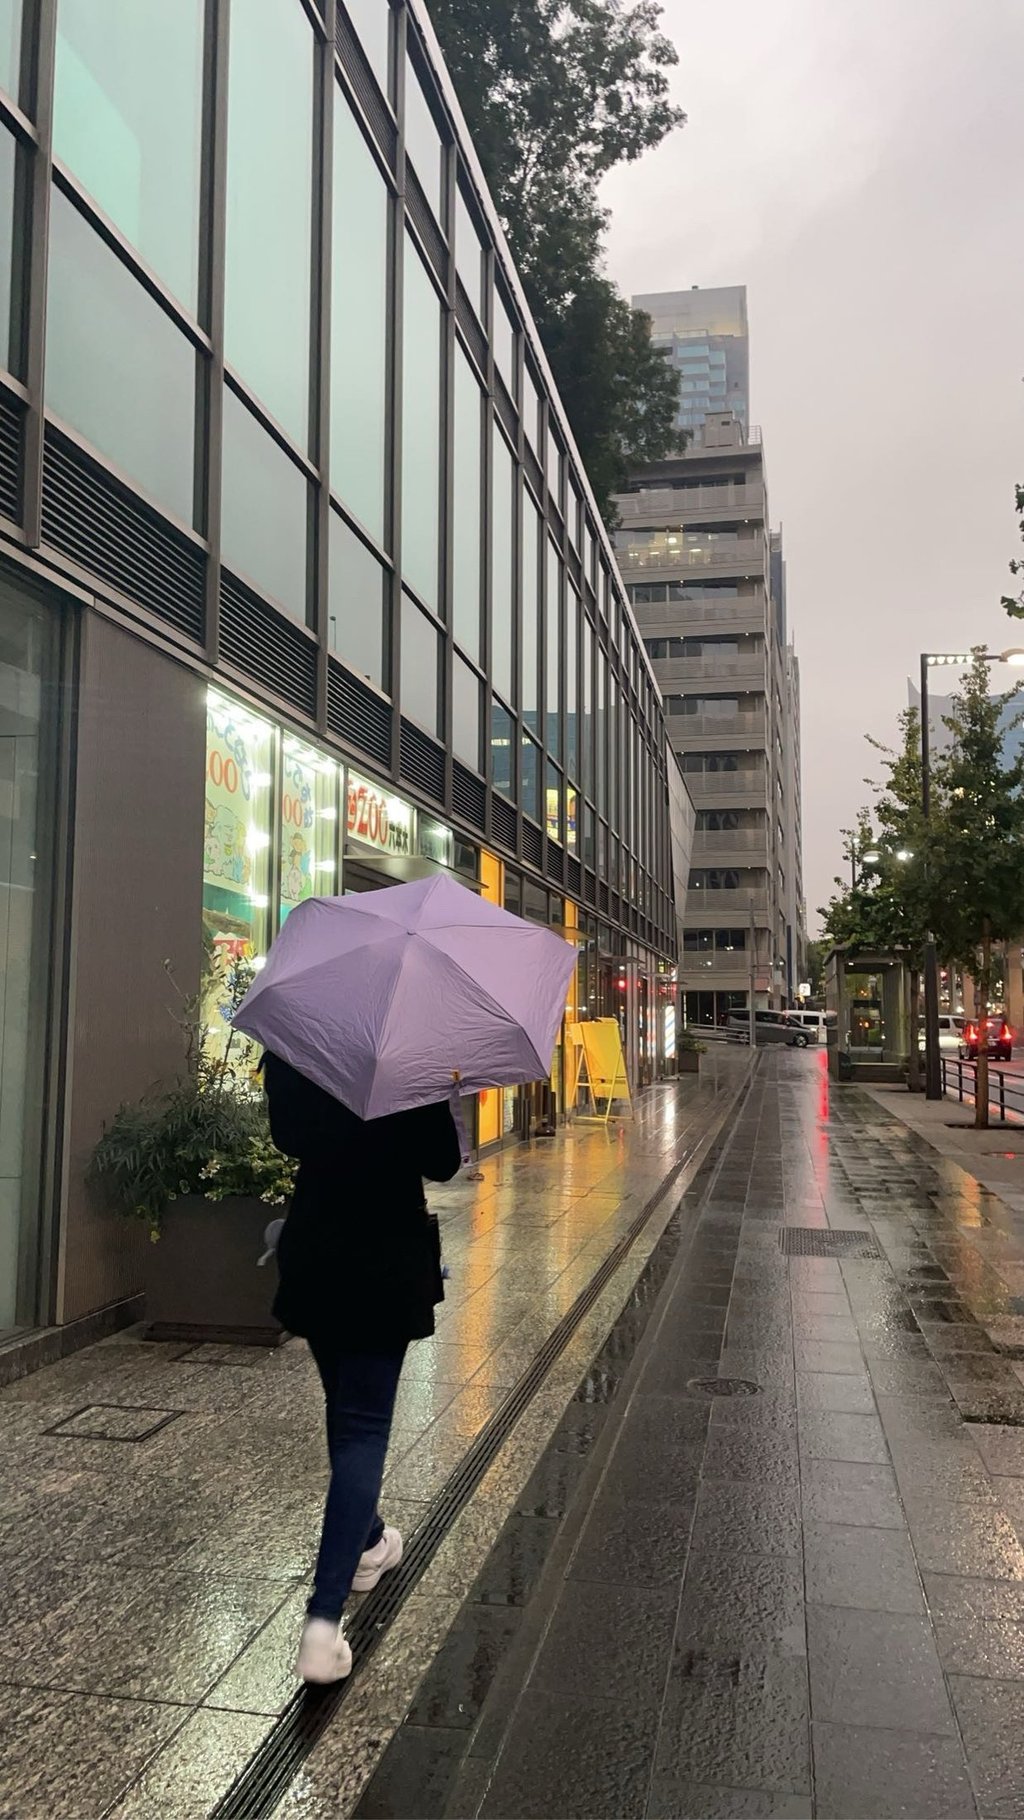
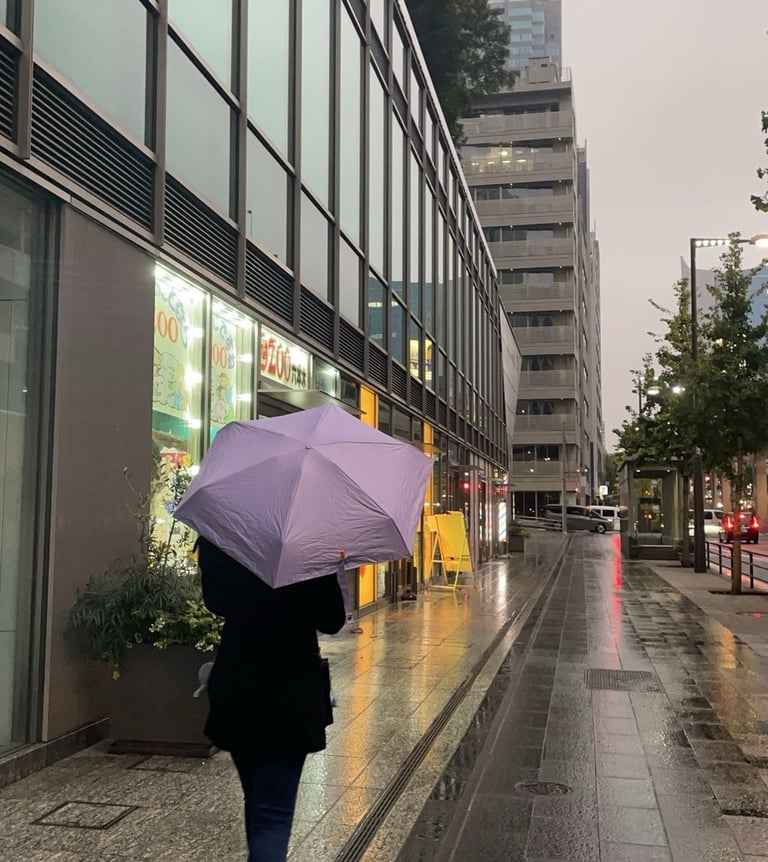
Depending on the time of year you visit, a small umbrella can also be very helpful. I traveled in the fall around November, and there were quite a few rain showers. I was glad I brought a compact umbrella that was easy to carry and kept me dry whenever the rain started. My sister didn’t bring one, so there were many times we ended up sharing it. Be sure to check the weather forecast ahead of your trip to get a better idea of how to prepare.
Financial & Currency Tips:
Instead of waiting to exchange money at the airport—where fees are often higher—I recommend contacting your bank to see if they can exchange currency for you in advance. I use Chase Bank and was able to pick up my Japanese yen about a week before departing. Having cash on hand as soon as I landed made the transition much smoother. This approach is also safer, as it reduces the need to withdraw large sums of cash from public ATMs.
Tipping is not customary in Japan and, in some cases, can even be considered rude. If you leave a tip, staff may follow you to return the money, assuming you accidentally left your change behind. In Japan, exceptional service is standard and provided with no expectation of gratuity. Despite not needing cash on hand for tips, many restaurants and vendors are cash-only, so it is best to have some cash on hand.
Using a travel credit card is often the most efficient way to make purchases abroad, especially since many cards do not charge foreign transaction fees. For example, I use the Chase Sapphire Preferred card, and none of my purchases incurred additional fees. I also had no issues using this card throughout Japan and appreciated earning points that I could later convert toward a future trip. If you want to learn more about travel credit cards and using points to purchase trips, then check out these websites: Points Talk Squad and Simplifying Personal Finance.
Be sure to notify your bank of your upcoming travel plans before you leave. I ran into issues when trying to reserve my Disney hotel in advance because my bank initially flagged the charge as fraudulent. Letting your bank know ahead of time can help prevent unnecessary disruptions when making purchases both before your trip and while you’re abroad.
Consider an eSIM for Cell Service:
Depending on your cell phone provider and plan, you may need to find alternative ways to access cell service while abroad. Start by checking with your provider to see whether you’ll incur additional fees when using data in Japan. For example, Verizon typically charges around $10 per day for unlimited talk, text, and data.
If you’re looking to avoid some of these costs, an eSIM can be a great option. An eSIM is an embedded SIM card built into your phone that allows you to connect to mobile networks without using a physical SIM card. To activate a plan, you usually scan a QR code, use a carrier app, or activate it through remote SIM provisioning. Once activated, your phone connects to the network just as it would with a traditional SIM card.
eSIM plans vary in features and may include data-only options or packages with voice and text. While in Japan, I used Jetpac, which gave me unlimited roaming data for 10 days for about $30 (prices may have changed since then, so I recommend checking their website for current pricing). This plan did not include voice or text, but I used WhatsApp to call and message contacts for free using just data while abroad.
The only challenging part was setting up the eSIM and making sure all the phone settings were configured correctly before departure. Aside from that initial setup, I had no issues with connectivity while in Japan. Having roaming data is extremely helpful for navigation and daily logistics, so I highly recommend arranging some form of data plan before your trip.
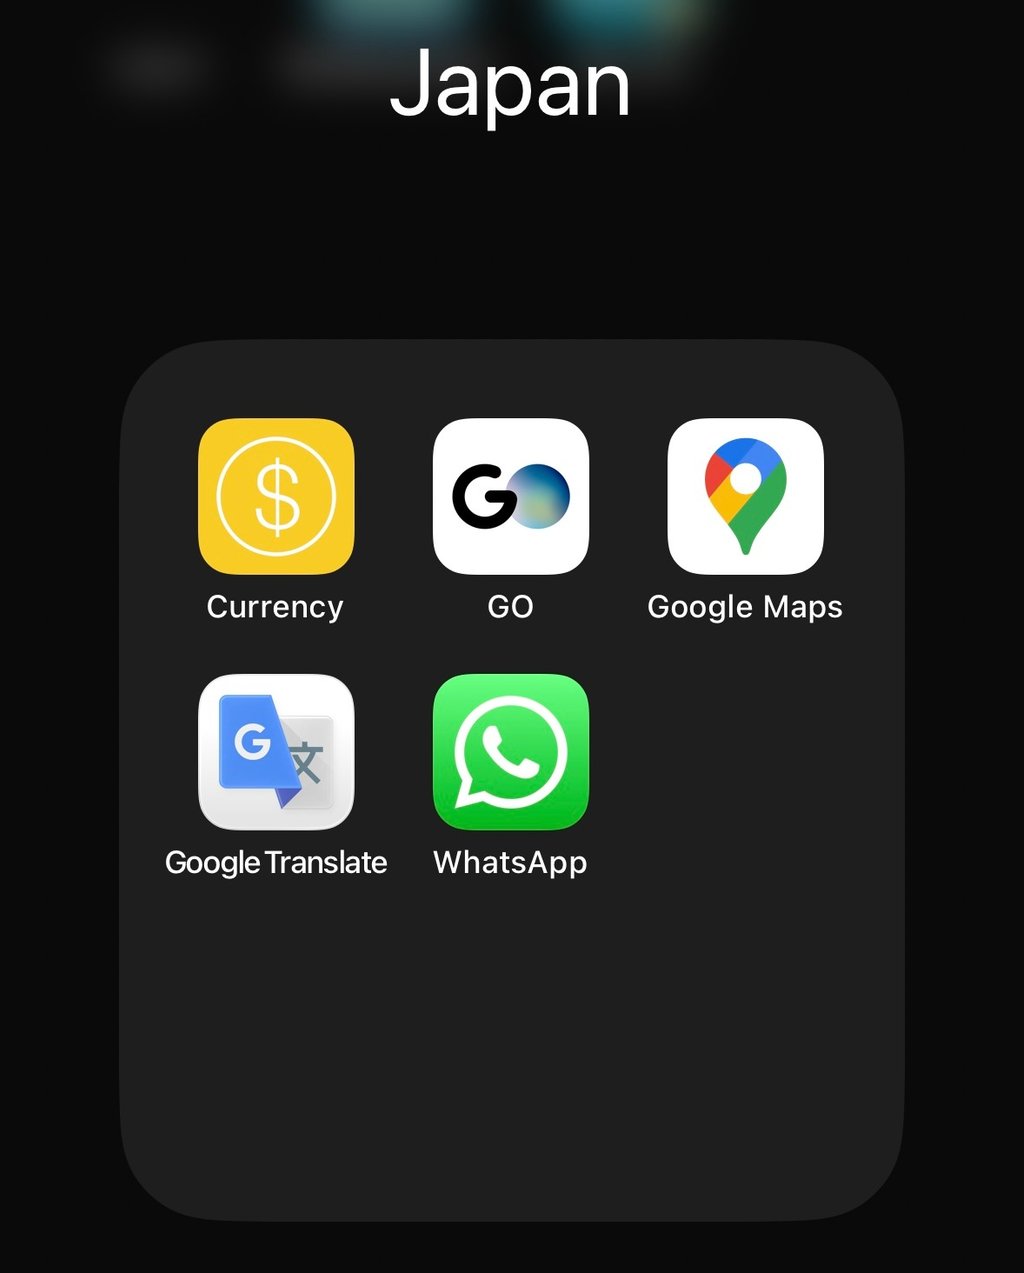
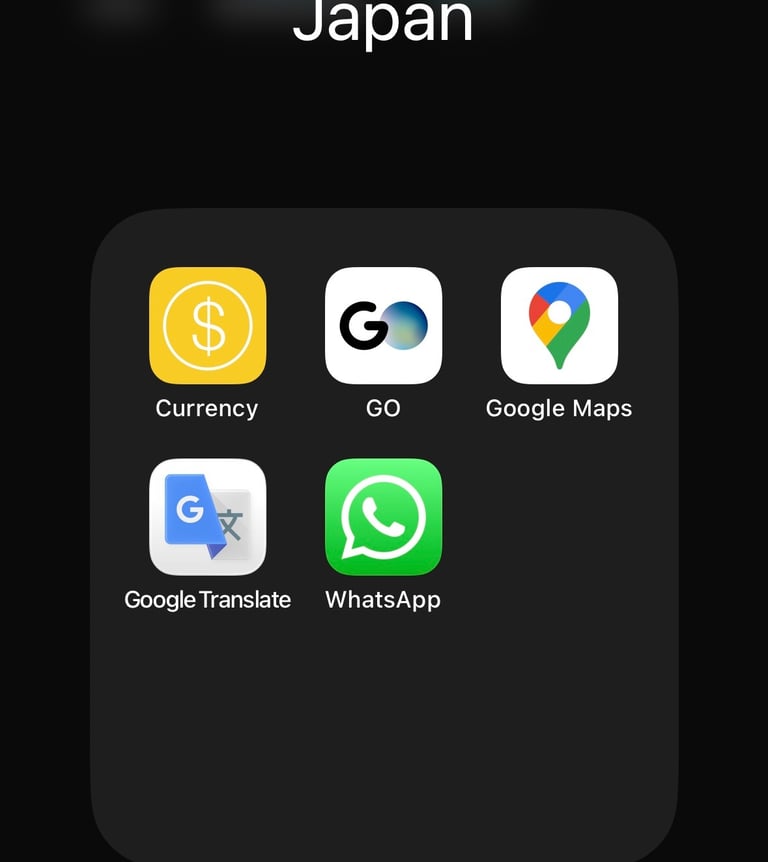
Download Helpful Apps:
Currency:
This app allowed me to quickly convert prices so I could see exactly how much something cost in USD. You can also switch between different currencies, which makes it useful not only in Japan but for international travel in general.
GO Taxi App:
Similar to Uber, the GO Taxi App allows you to request rides directly through an app. We used it a few times when switching hotels. While it can be more expensive than public transportation, the convenience was sometimes worth the extra cost—especially when traveling with luggage.
Google Maps:
This app was extremely helpful for navigating throughout Japan and using public transportation. It shows which train lines to take, which platform your train departs from, and how many stops you’ll need to make. Be sure to pay attention to the color-coded train lines in the directions (for example, the Ginza Line is yellow), as stations clearly mark these colors, making it easier to find the correct platform.
Google Translate:
This app is incredibly useful for translating everything from signs to menus. While I didn’t use the conversation feature very often, I relied heavily on the photo feature to translate menus, directions, and other signage. Simply hover your camera over the text, and it will translate instantly. I also used this in advance of going to restaurants to understand what was on the menu.
WhatsApp:
If you don’t plan to pay for voice or text services while abroad, then this app is great for communication using just data. The people you want to contact will need to have the app as well, but it’s an excellent way to send messages and make calls over roaming data or Wi-Fi.
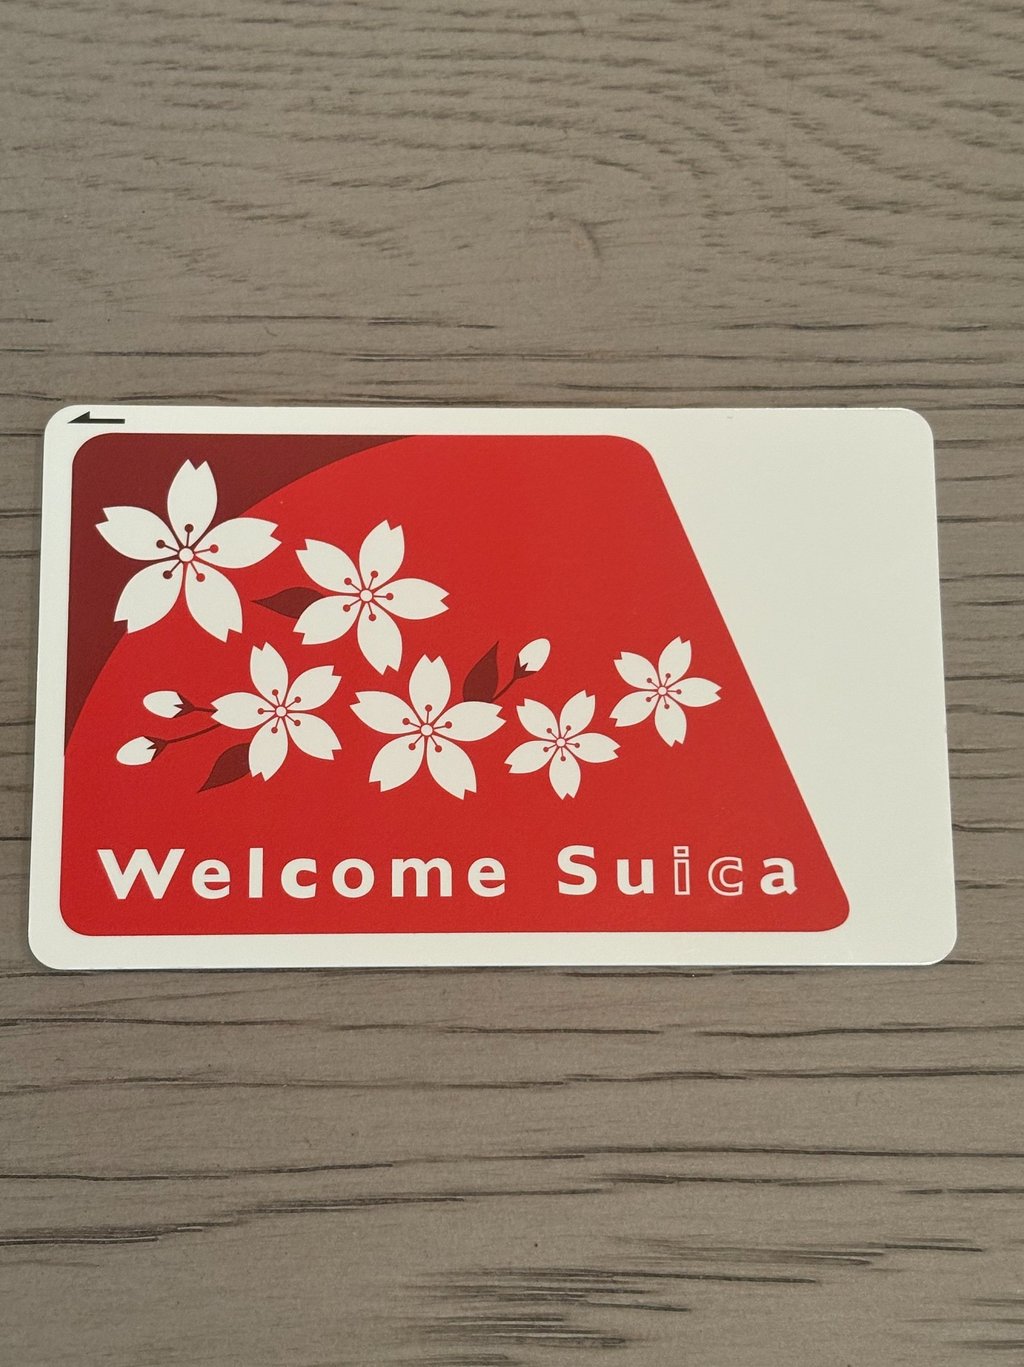
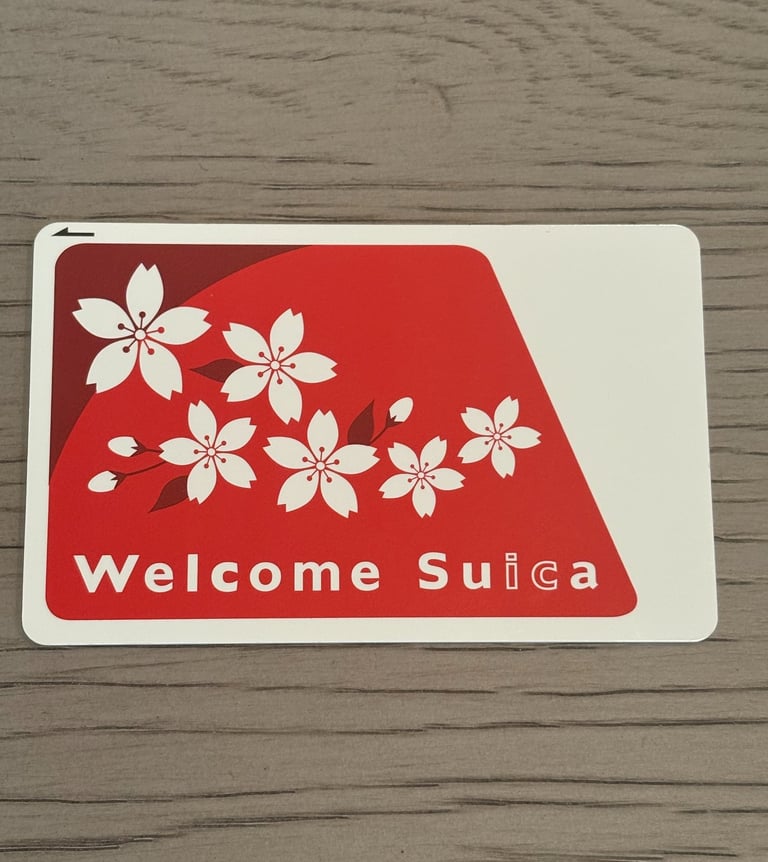
Find A Transit Pass That Will Work for You:
I recommend doing thorough research before purchasing a specific rail pass. During our trip, we used a Suica card, and it worked extremely well. A Suica card is a reloadable transit card that can be used across many different transportation networks—including different subway lines, buses, and trains. You can add money to the card as needed, and I was able to get around Tokyo and Kyoto for 10 days with only about $30 loaded onto the card.
As a tourist, you can also purchase the Welcome Suica card, which is valid for 28 days. These cards can be purchased at train stations, and we got ours immediately after arriving at Haneda Airport, which is conveniently connected to the train system. Keep in mind that you must purchase the Welcome Suica card after arriving in Japan. I made the mistake of ordering one in advance through Japan Experience, but it was inactive by the time I arrived because the 28-day validity period had already expired.
Many sources also recommend purchasing a JR Pass when visiting Japan, which can be cost-effective depending on your itinerary. However, this pass only allows you to ride JR-operated trains, and some destinations may require non-JR lines. For example, when traveling to Ginza, you’ll need to take the Ginza Line, which is not covered by the JR Pass but is covered by the Suica card.
For more information on JR Pass vs. Suica cards, check out these helpful posts by Japan RailPass and Japan Horizon.
If you plan to take the bullet trains, which are known as Shinkansen, we purchased our tickets separately and in advance through Klook. The Shinkansen are helpful if you are going longer distances, such as if you are traveling between Tokyo and Kyoto.
Take An Introductory Japanese Language Course:
I recommend learning a few basic Japanese phrases to help make your trip smoother. While you can generally get by with English in larger cities, being able to say simple phrases like “thank you” or “excuse me” in Japanese goes a long way and is genuinely appreciated. Some useful phrases include:
Hello: Konnichiwa
Thank you: Arigatō gozaimasu
Yes: Hai
No: Iie
Excuse me / Sorry: Sumimasen
Where is the toilet?: Toire wa doko desu ka?
Google Translate can be a helpful tool for listening to correct pronunciation and translating between languages while you practice.
In addition, one thing I did before my trip was take an introductory Japanese language course geared specifically toward travelers. It was only one week long, but it was extremely helpful. We covered many essential phrases and learned about cultural etiquette, which made me feel much more confident navigating daily interactions. I took my class online through Sakura Gakuen.